
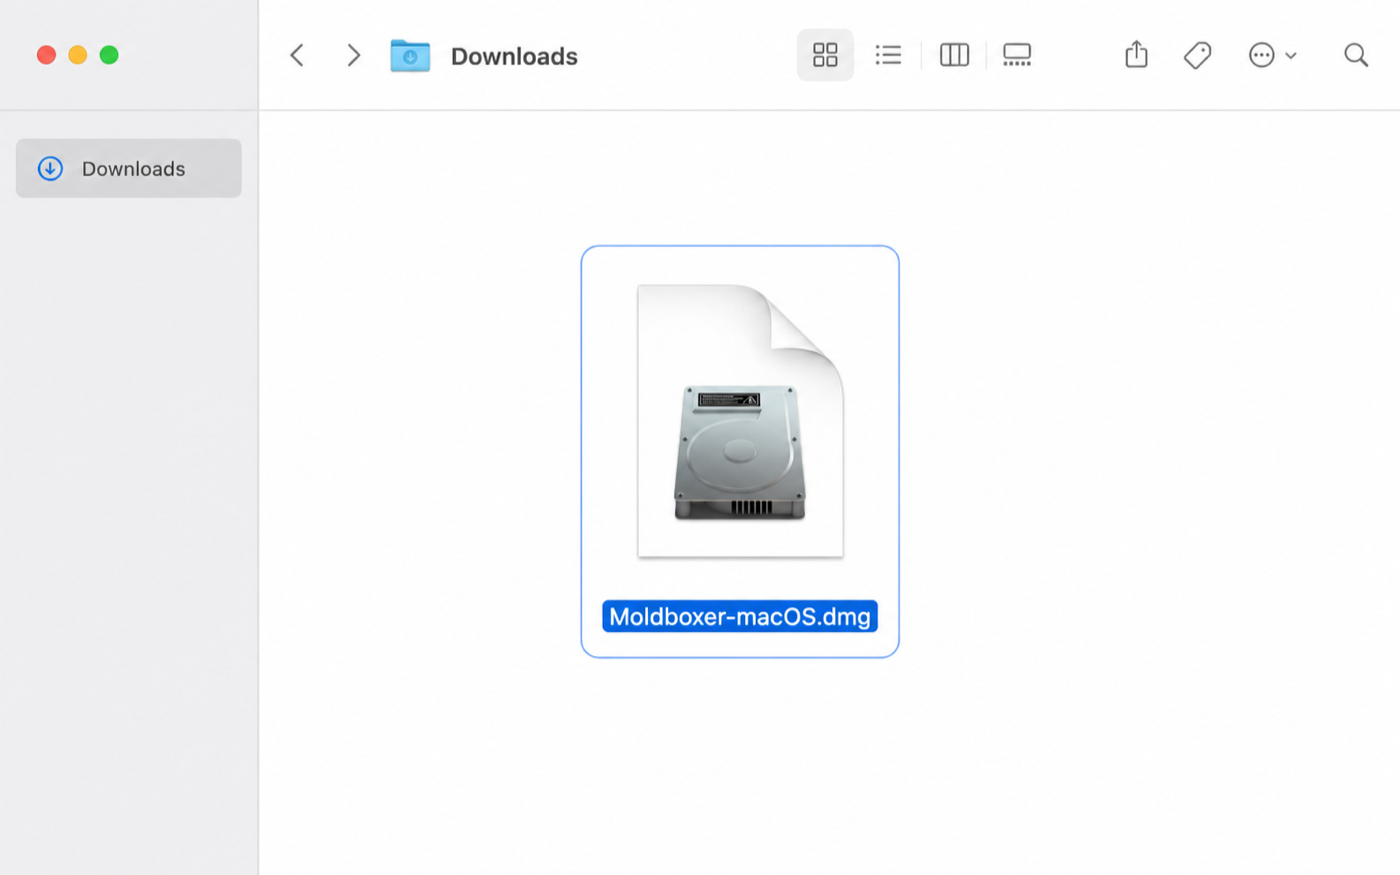
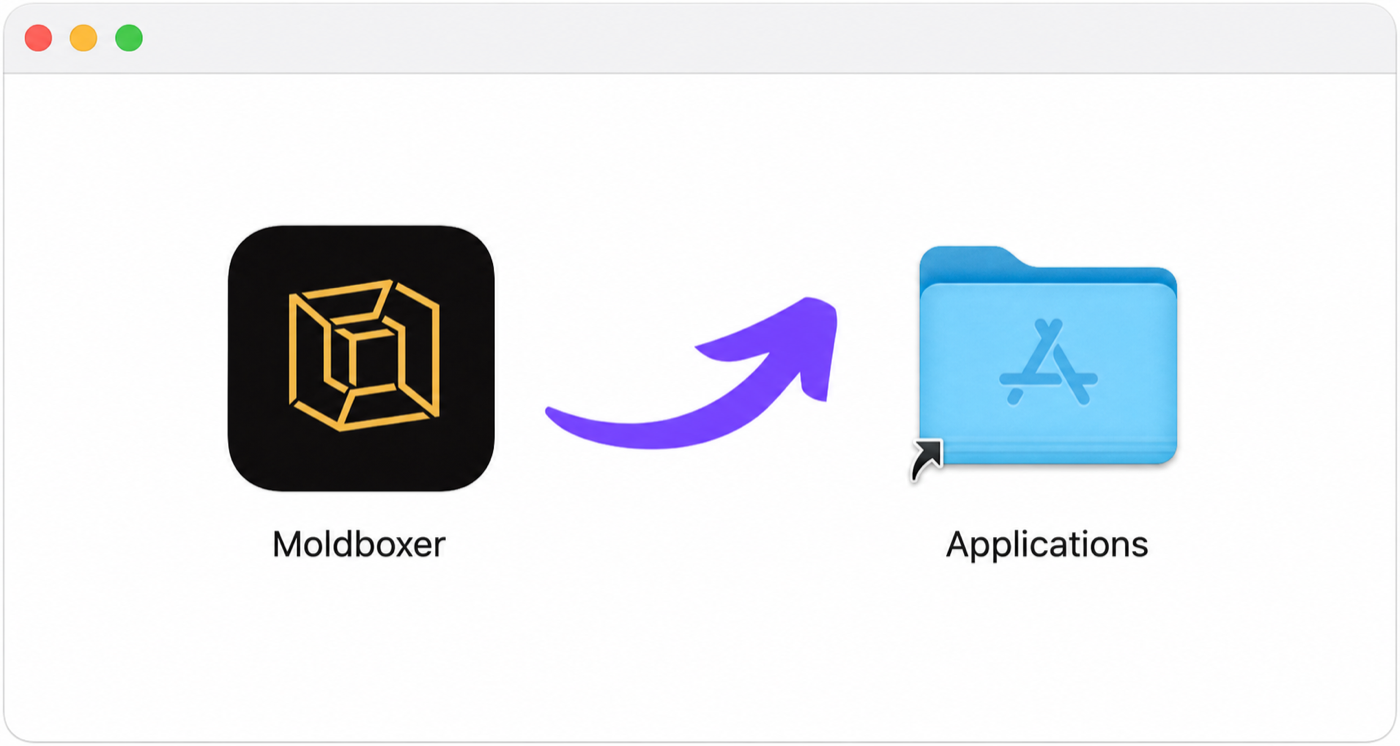
Open the downloaded Moldboxer DMG.
Setup
First Mold
The main action stays in the bottom-right corner, settings are on the left, utilities run across the top header, and tools appear in the right overlay column.

Start a clean project with New in the top-left and choose the mold type. Moldboxer opens the file browser automatically, so select your model file to import it; then adjust the mold settings in the left sidebar.
After import, the main action in the bottom-right corner changes to Generate Mold. The first time you generate, Moldboxer asks you to sign in; finish login and continue from the same project.
When the mold system is generated, the bottom-right action changes to Export. Use it to export every generated object as an STL, ready to import into your slicer and print.
Mold systems
Press New in the top-left to compare nine workflows: Adapted Box, Tray Box, Multi-Part Silicone, Inner Cavity, Direct-Mold Open Base, Direct-Mold Top Funnel, Direct Skin, Fixture, and Protective Shell. Choose the system that matches how your part will be cast and released.

Settings
The left sidebar groups wall thickness, detail, safe processing, box splits, channels, base, funnel, clamps, and casting options. Utilities stay available in the top header, while contextual tools appear in the right overlay column.

Advanced mode
Enable Advanced Mode in General settings on the left to split mold generation into two deliberate steps. The main action remains in the bottom-right corner: Build Box creates editable mold components, then Confirm generates the finished mold system.
Select Build Box from the main action area in the bottom-right corner to create the initial components. When it finishes, inspect and customize their placement before final generation, then continue with Confirm in the same corner.

Select Confirm from the same bottom-right action area to finalize the customized components. When processing finishes, that action changes to Export.
